VIEW ALL HOW-TO GUIDES
How To Add Photos To Your Routes
ADVERTISEMENT
More How-To Guides
- How to show two or more routes on the same map
- How To Shift A Route Left Or Right To The Side Of The Road
- How to download a route to a Wahoo ELEMNT
- How to identify the biggest hill climbs on a route
- How to estimate the time to complete a route
- How to make a route private or public
- How to duplicate a route
- How to link Plotaroute with Epic Ride Weather
- How to download a route to a Garmin Edge
- How to help improve OpenStreetMap (OSM) maps
Watch Our Video Tutorials
We have a number of video tutorials demonstrating how to use key features on the site.
VIEW TUTORIALS
VIEW TUTORIALS
Join In Our Forums
Take at look at our Forums for more help and advice.
VIEW FORUMS
VIEW FORUMS
If you've taken photos of a route that you've mapped on plotaroute.com, you can share them together with your route. Follow these instructions:
- Plot and save your route using the route planner.
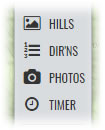
- Once the route has been saved, click PHOTOS in the action panel.
- Click the Upload Photos button, choose the photos that you want to upload and then click Upload.
- Once the photos have been uploaded, thumbnails will appear in the left panel.
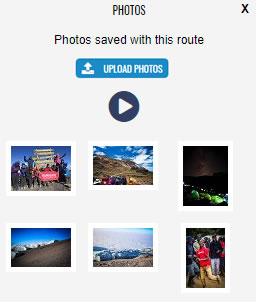
- You can click the Play icon to play a slideshow of the photos or click individual photos to select them.
- To rotate a photo, select it and then click the rotate icon . To delete a photo click the trashcan icon .

- You can show a photo symbol on the map to mark the location where the photo was taken by selecting the photo and clicking on the Map Marker icon . This will change the cursor to a camera symbol , which you can place anywhere on the map by clicking on the map.
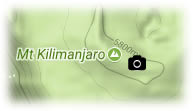
Once you've located a photo in this way you can then click on the photo icon on the map to view it. To remove the photo icon from the map, select the photo and click on the Map Marker icon again. - You can also attach individual photos to directions if you like. To do this, edit the direction in question and then click on the blank photo placeholder to select one of the photos you have already uploaded.

Adding photos to directions can he help to follow routes, as they can be printed out with the directions when you come to print a route. The following example of printed directions shows photos which have also been annotated by the person who took them using image editing software.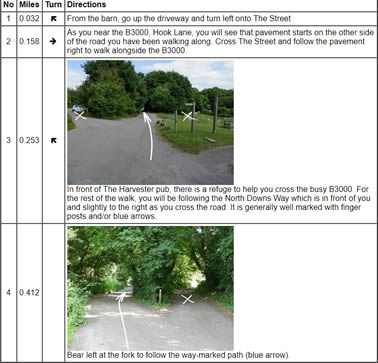
- Photos are saved automatically when you upload them but don't forget to save your route if you've added photos to the map or to directions.
- When you share a route that you've added photos to, the photo thumbnails will be displayed beneath the route map. You can view all the photos in full screen mode by selecting one and then clicking the fullscreen icon .
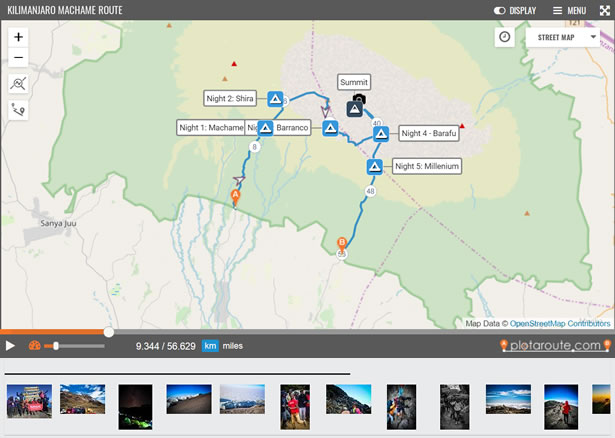
Take a look as this example of a route with photos added.
Finally, please only upload photos that you have permission to share and that are not likely to offend anyone - thank you.
Share this page:
DESKTOP TABLET MOBILE